
Since I posted last June on automating Tableau operations using Alteryx, new versions of Alteryx (V10 + V10.1) and Tableau (V9.1 + V9.2) got released. That post remains relevant as ever, but a new feature is worth a separate update: the great Information Labs Upload Macro does not work anymore with tableau Online: you will get a cryptic No Entity found for query error, because of Tableau Online’s evolving authentication layer. Information Labs will not maintain their macro anymore, as Alteryx now provides a supported tool to upload to Tableau Server from workflows, using the official Tableau API. Time to upgrade!

Using this new macro requires to run Alteryx Designer 10.1 and higher. If you already have a license, or wish to try free for 14 days, go here to update. Then you might be wondering where is the new tool, as it is not part of the 10.1 install. It is not a regular connector, it is a separate macro, to enable an agile refresh cycle for that macro, different from the main Alteryx Designer, since Tableau seems to update their APIs quite frequently. So the Macro needs to be installed:
- Download the .yxzp Macro install file from the Gallery
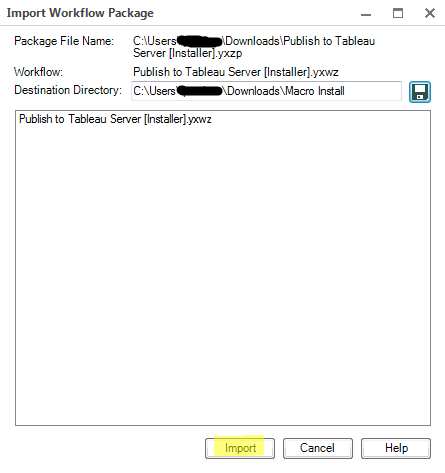
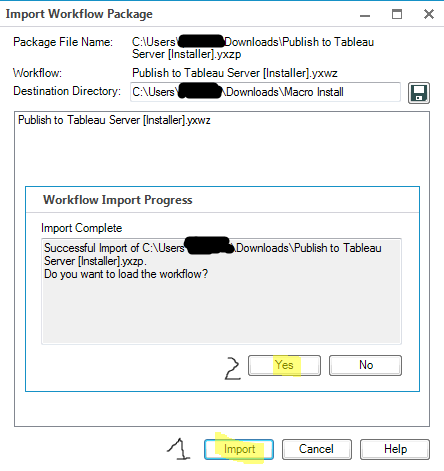
- Import the Workflow package by opening the .yxzp file to a temp folder: the diskette icon (!) lets you select which temp folder, and click Import.
- Click Yes
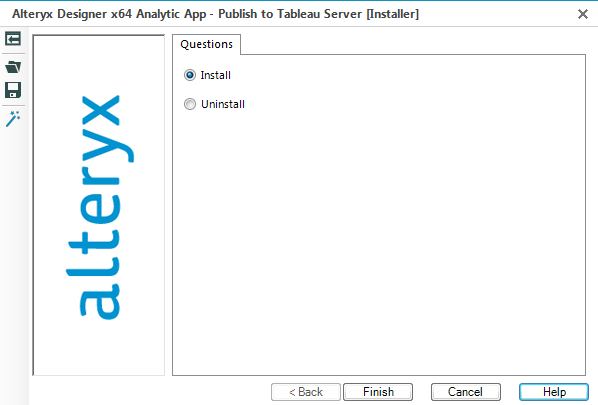
- Follow the instructions in the workflow and get to the installer:
- After restarting Alteryx, You now have a new Tableau Tab with the macro ready to be used as a connector:
Should you run into trouble along this process, you can address your issues directly with the developer using this forum.
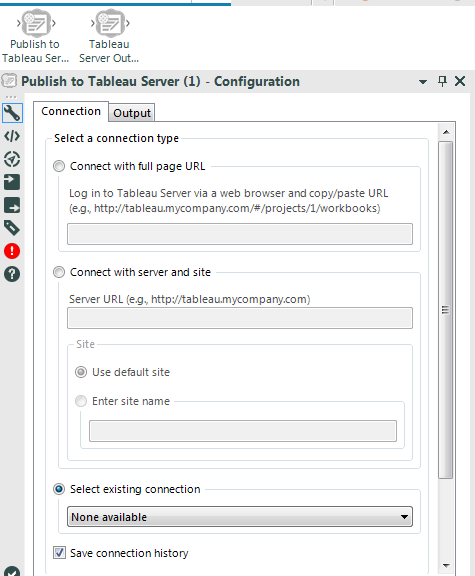
Now to configure the macro, I recommend using the Connect with server and site option. Using a Tableau Online example, you can obtain all the relevant input by connecting to one of your reports, and the URL would look like this:
https://10ay.online.tableau.com/#/site/nameofyoursite/views/nameofyourworkbook/nameofyourview
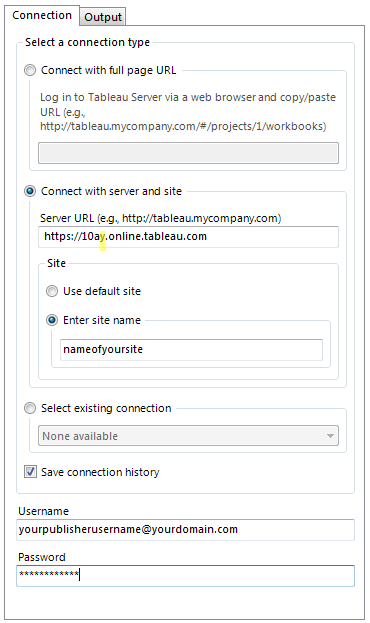
Note that the highlighted y could be a x depending on which instance of Tableau Online your site is hosted on. For the Output tab:
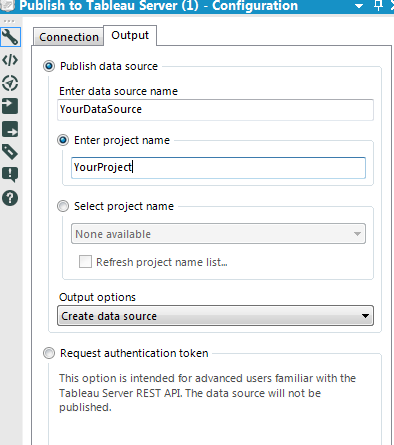 After you ran it once successfully, don’t forget to switch the Output Options to Overwrite data source for subsequent refreshes, that you can schedule in Alteryx to run automatically.
Note that the macro itself has an output, which is convenient, should you need to generate a local TDE file or database stored on your Alteryx server for instance.